
After upgrading my old QNAP TS-453A to a QNAP TS-873 with 8 bays and tons of storage I finally had some time to explore additional storage options for my homelab. Now with 2 pools of storage with total capacity of ~ 35TiB I finally could start to use my NAS much more efficient.
In the previous post Configure QNAP NFS as VMware ESXi Dastastore I showed you how to configure QNAP NFS share as VMware ESXi Datastore.
In this post I will show you how to create a VMware ESXi datastore using iSCSI.
Prerequisites
- QNAP NAS
- VMware ESXi - mentioned solution should work starting from VMware ESXi 5.0+
QNAP Configuration
- Login to your QNAP NAS and click iSCSI & Fibre Channel
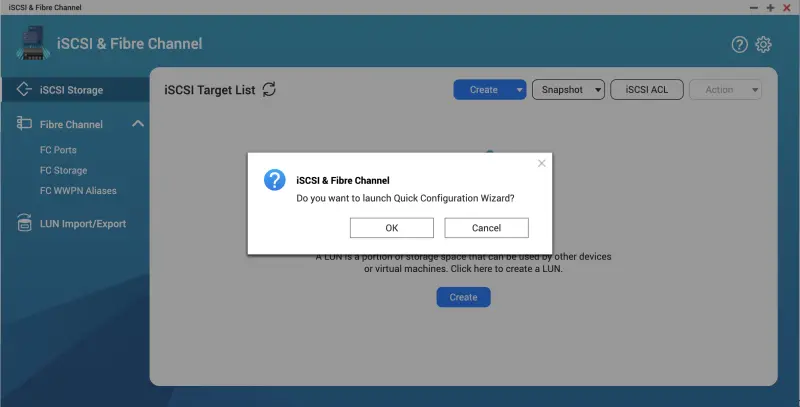
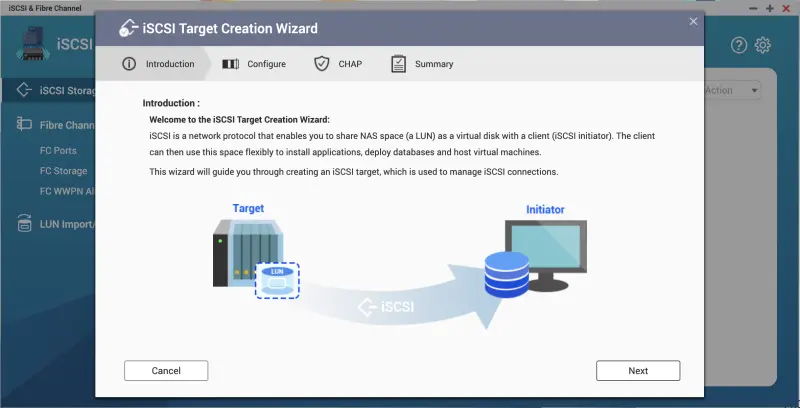
- When first time started you will be asked if you wish to go through a configuration wizard. Click Next.
- We will start with the iSCSI Target creation.
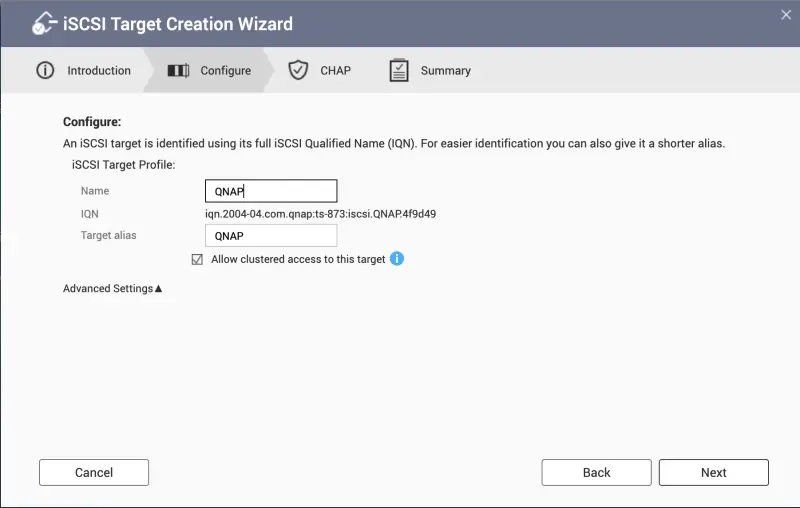
- You can enter name and alias for your iSCSI Target.
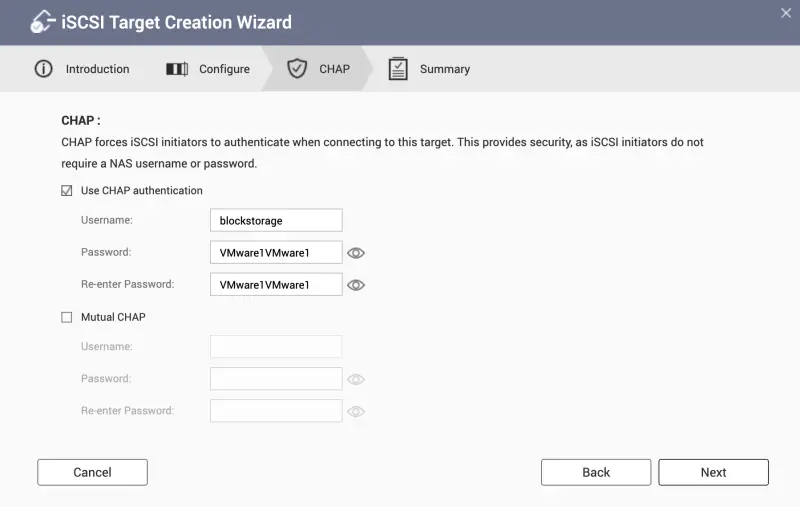
- In next section we can enter username and password. Only letters and numbers are allowed. Let’s try to configure it with username and password.
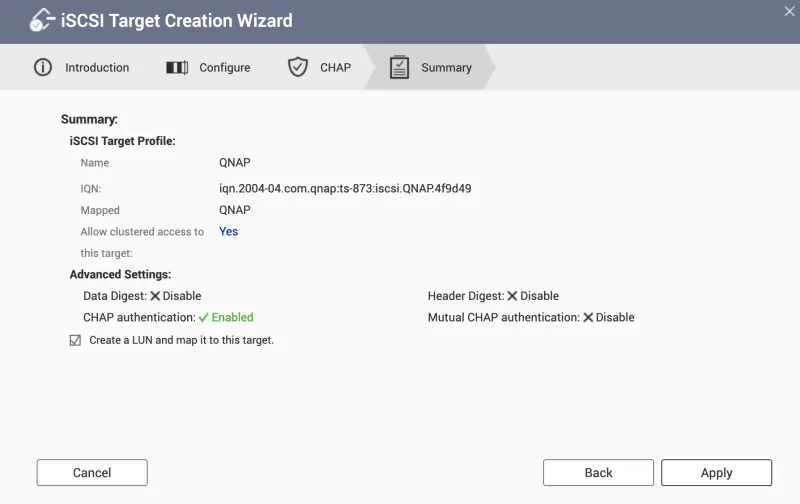
- In the last section we have a summary of the items we configured. Important is to select Create a LUN and map it to this target.
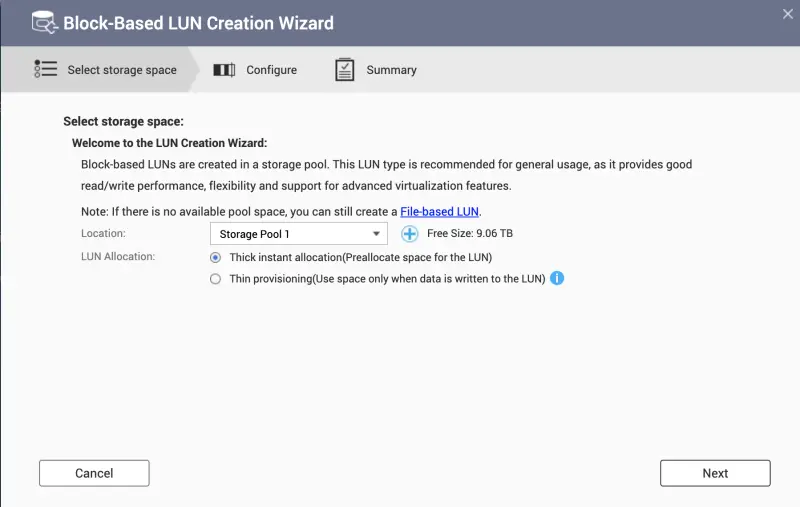
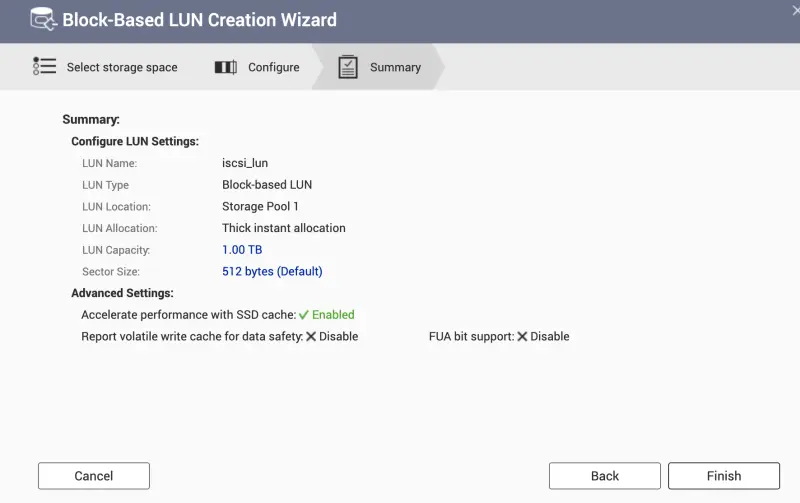
- Now we are in the Block-Based LUN Creation Wizard section. Choose appropriate Storage Pool and the type of LUN allocation - thick or thin.
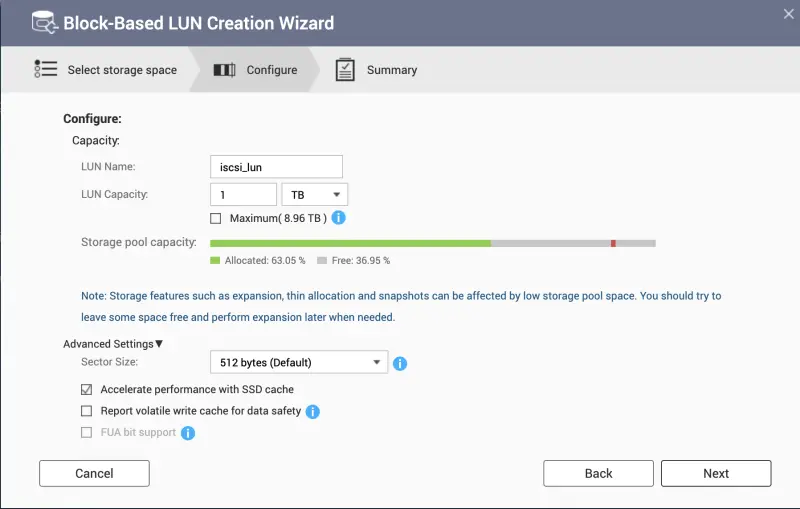
- We need to provide a LUN name and enter the desired LUN size. As I have cache disks I will use them.
- On the summary we can see all the configured settings.
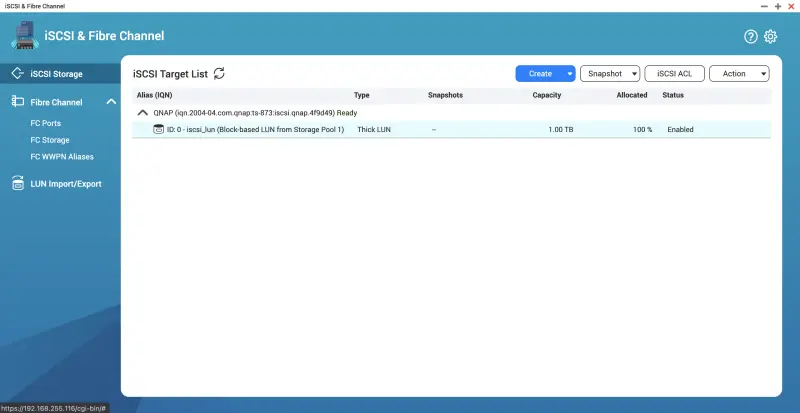
- Our QNAP NAS iSCSI target is ready to be used.
ESXi Configuration
VMware ESXi can use iSCSI either using Static or Dynamic discovery. I’ve tested it with both and I will descibre the process just with Dynamic.
-
Login to vSphere.
-
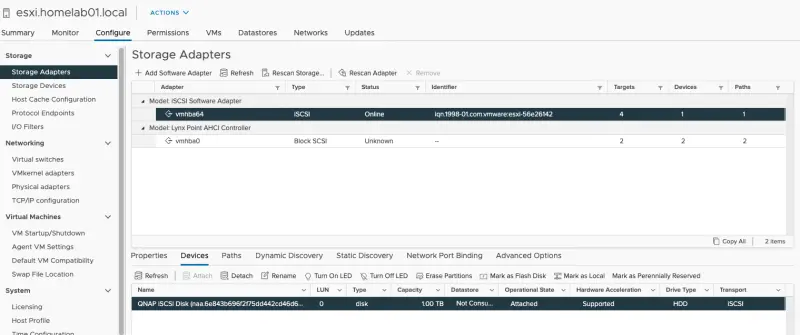
Navigate to your ESXi Server Configure -> Storage Adapaters -> iSCSI Software Adapter or your hardware iSCSI adapter.

-
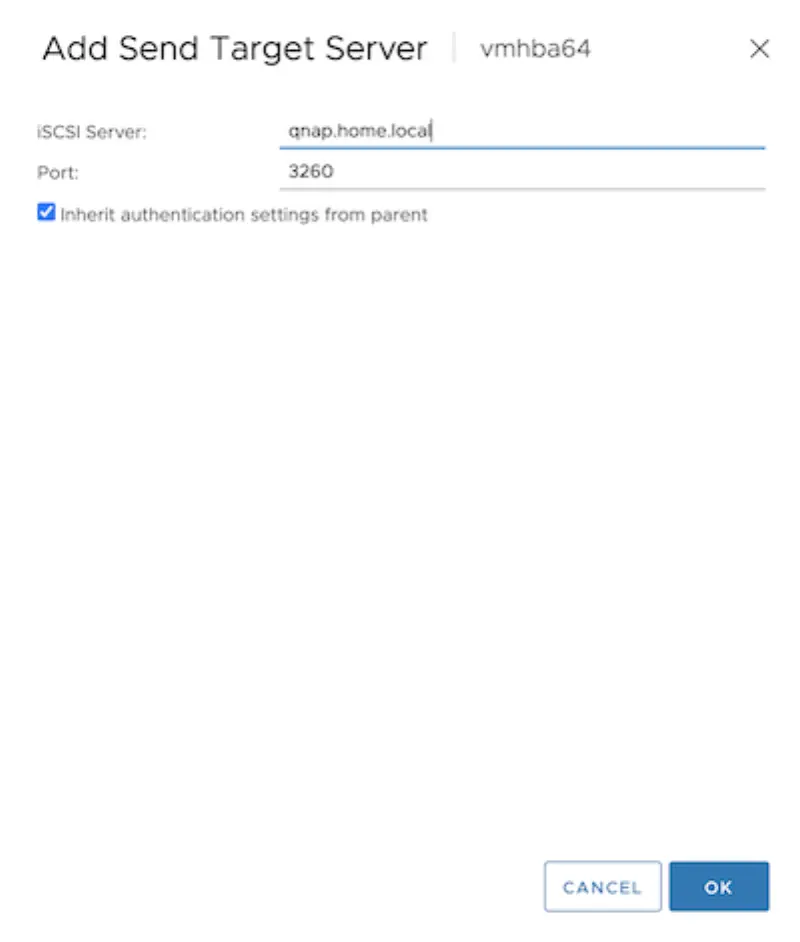
Click Dynamic Discovery and then Add.
-
Enter iSCSI Server FQDN or IP address.
-
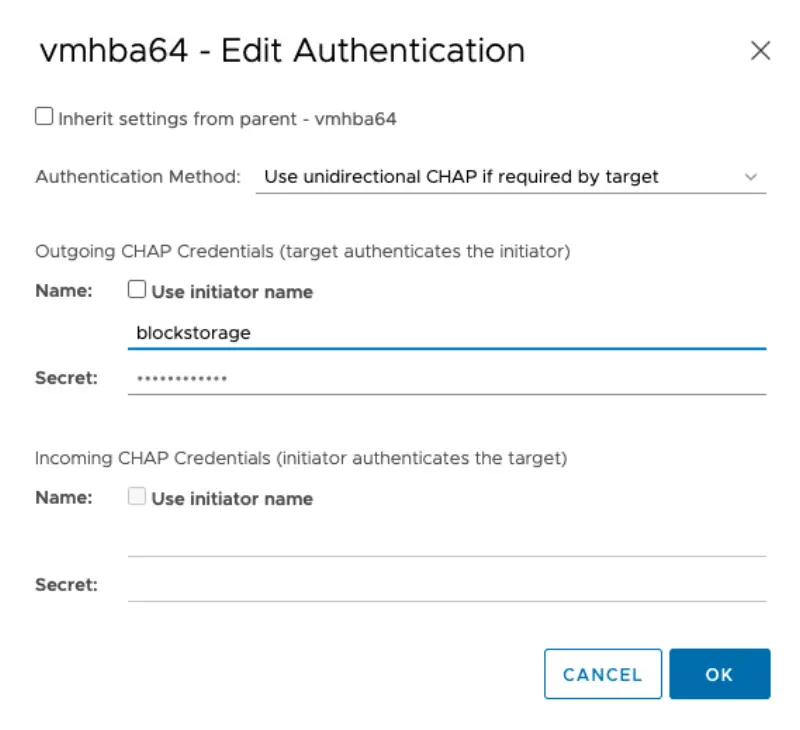
I used CHAP configuration on QNAP so I need to enter it in ESXi as well. Set Authentication Method to Use unidirectioal CHAP if required by target.
-
We need to rescan adapter in order to reflect changes. CLick Rescan Adapter.
-
iSCSI LUN is visible and can be used as VMware Datastore.
Create iSCSI based VMware Datastore
- Click on Actions and then select Storage -> New Datastore

- Choose VMFS
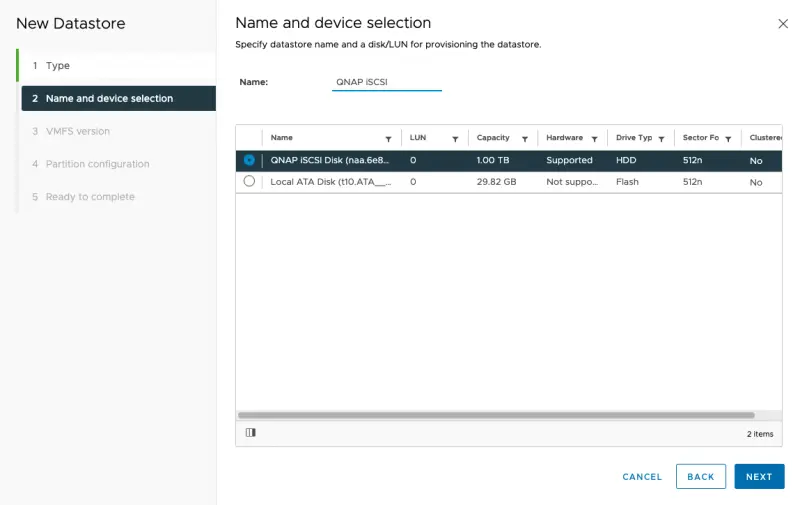
- Select our iSCSI backed Disk.
- Choose desired VMFS version.
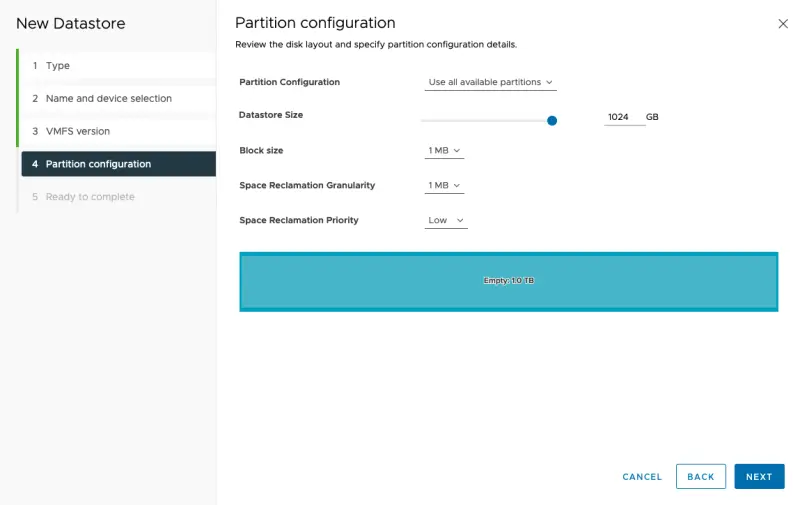
- I will use whole datastore size and use default settings.
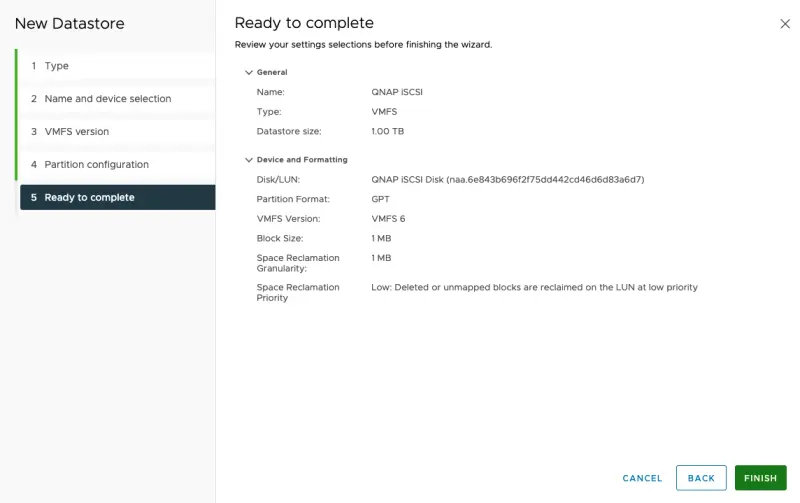
- On the summary page we can review our configured settings.
- Datastore is visible in GUI and can be used by our VMs.

Summary
I hope that post was informative and easy to follow. I am really happy to have so many options to utilize my QNAP NAS in my homelab.